05 - Removing Noise Scan
For this step, you need to already have .nifti files! If you currently only have DICOM files, please convert them to nifti’s first!
Depending on the sequence used in the scanner session, you might have data that were acquired with a denoising sequence. This is sometimes done, since it doesn´t take much time in the scanner, but you have the ability to denoise the data if it turns out to be necessary.
But by default, we don´t use this denoising information. Additionally, some applications (like fmriprep) cannot process data with this additional information!
Thus, before running our fmriprep pipeline, we have to remove this information from our scans!
1 Check for noise scan in nifti file
1.1 Open freeview
You can check if a denoising sequence was used for your data, by checking the functional scans in freeview. For this, you first have to source freesurfer and then open freeview:
Open a terminal (Monitor Icon at the bottom left on neurodesk)
Type
ml freesurferand press enterType
freeviewand press enter (from time to time, it can take a while until freeview opens, be patient! It is also possible, that some messages about runtime are printed in the terminal, but that is nothing to worry about!)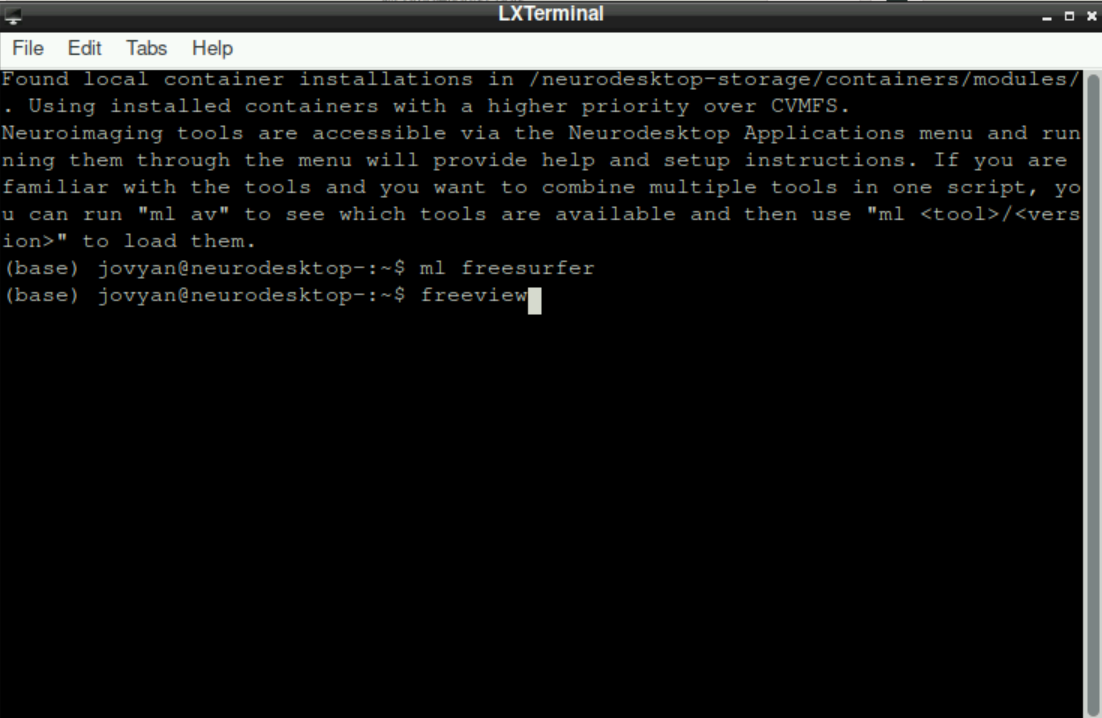
\(\to\) When freeview opened successfully, it should look like this: 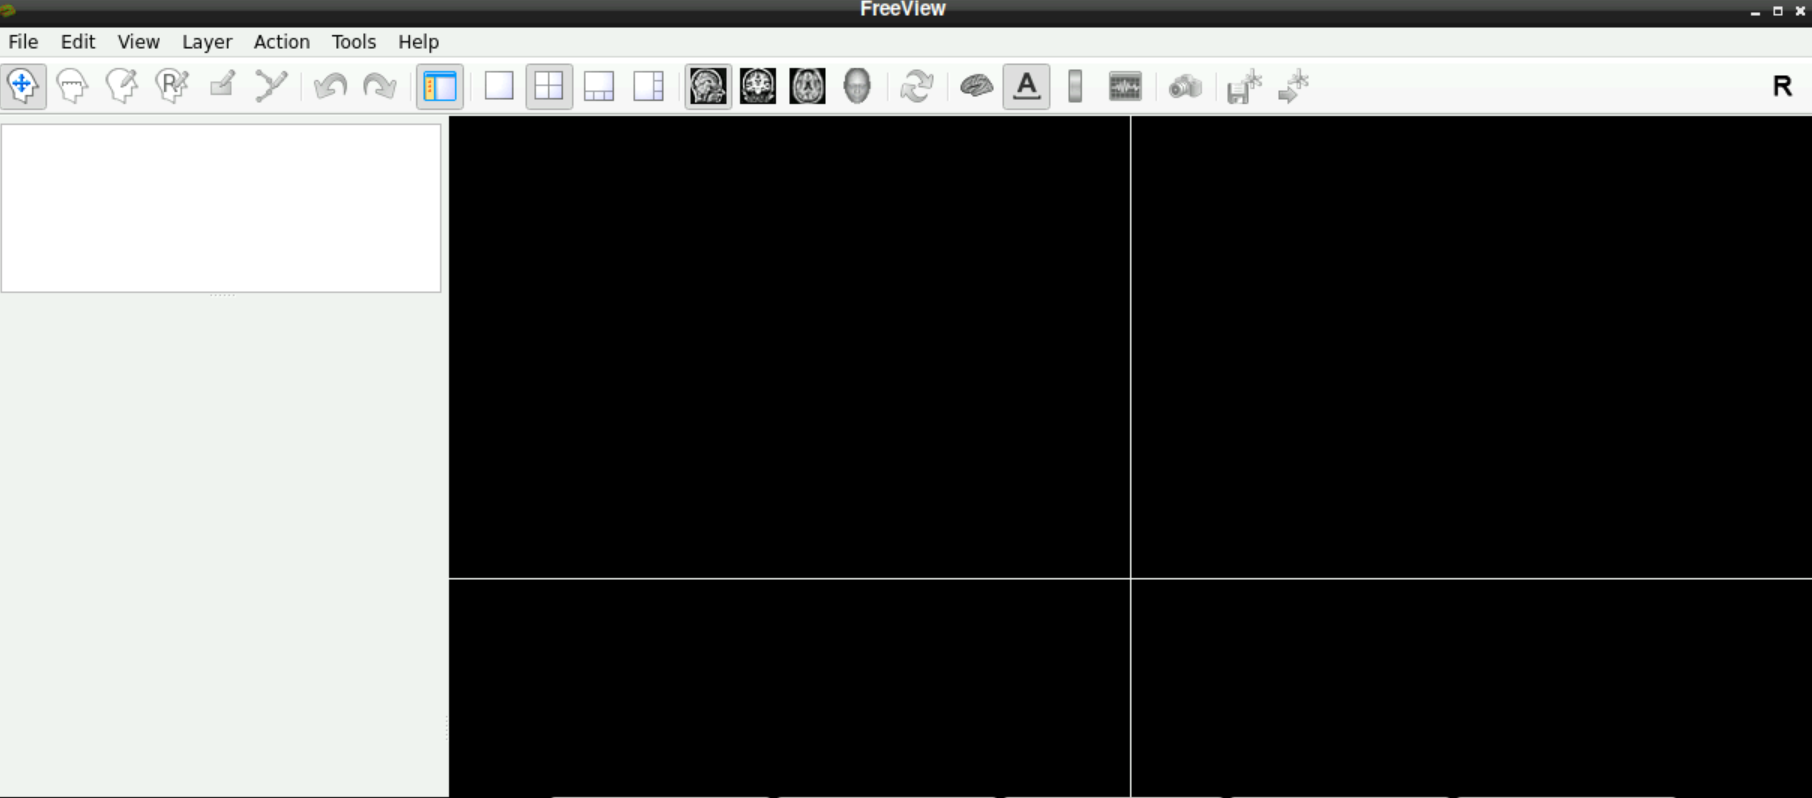
1.2 Load a functional volume
Now you have to look at a functional scan to see if there is a denoising scan at the end.
For this, select File > Load Volume (top left corner in freeview): 
A new window opens, asking you to Select volume file. Either type in the path(s) to your/a functional scan manually, or start by clicking on the folder symbol 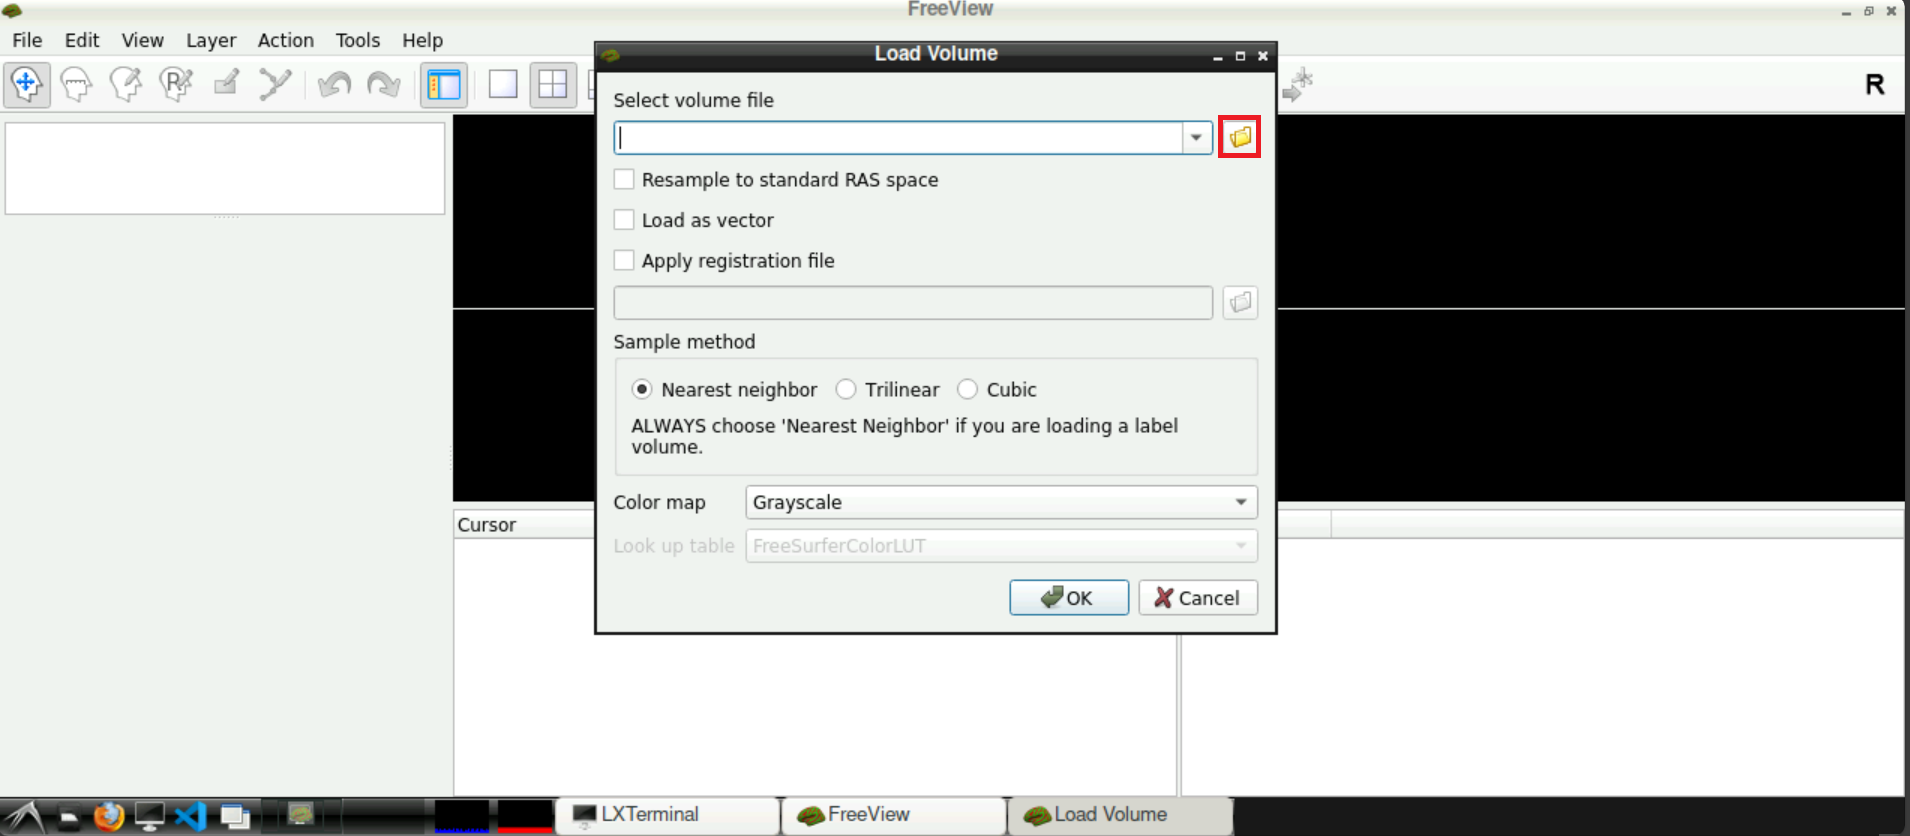
Navigate to your func directory in your BIDS directory, select one of the .nifti files and press Open afterwards 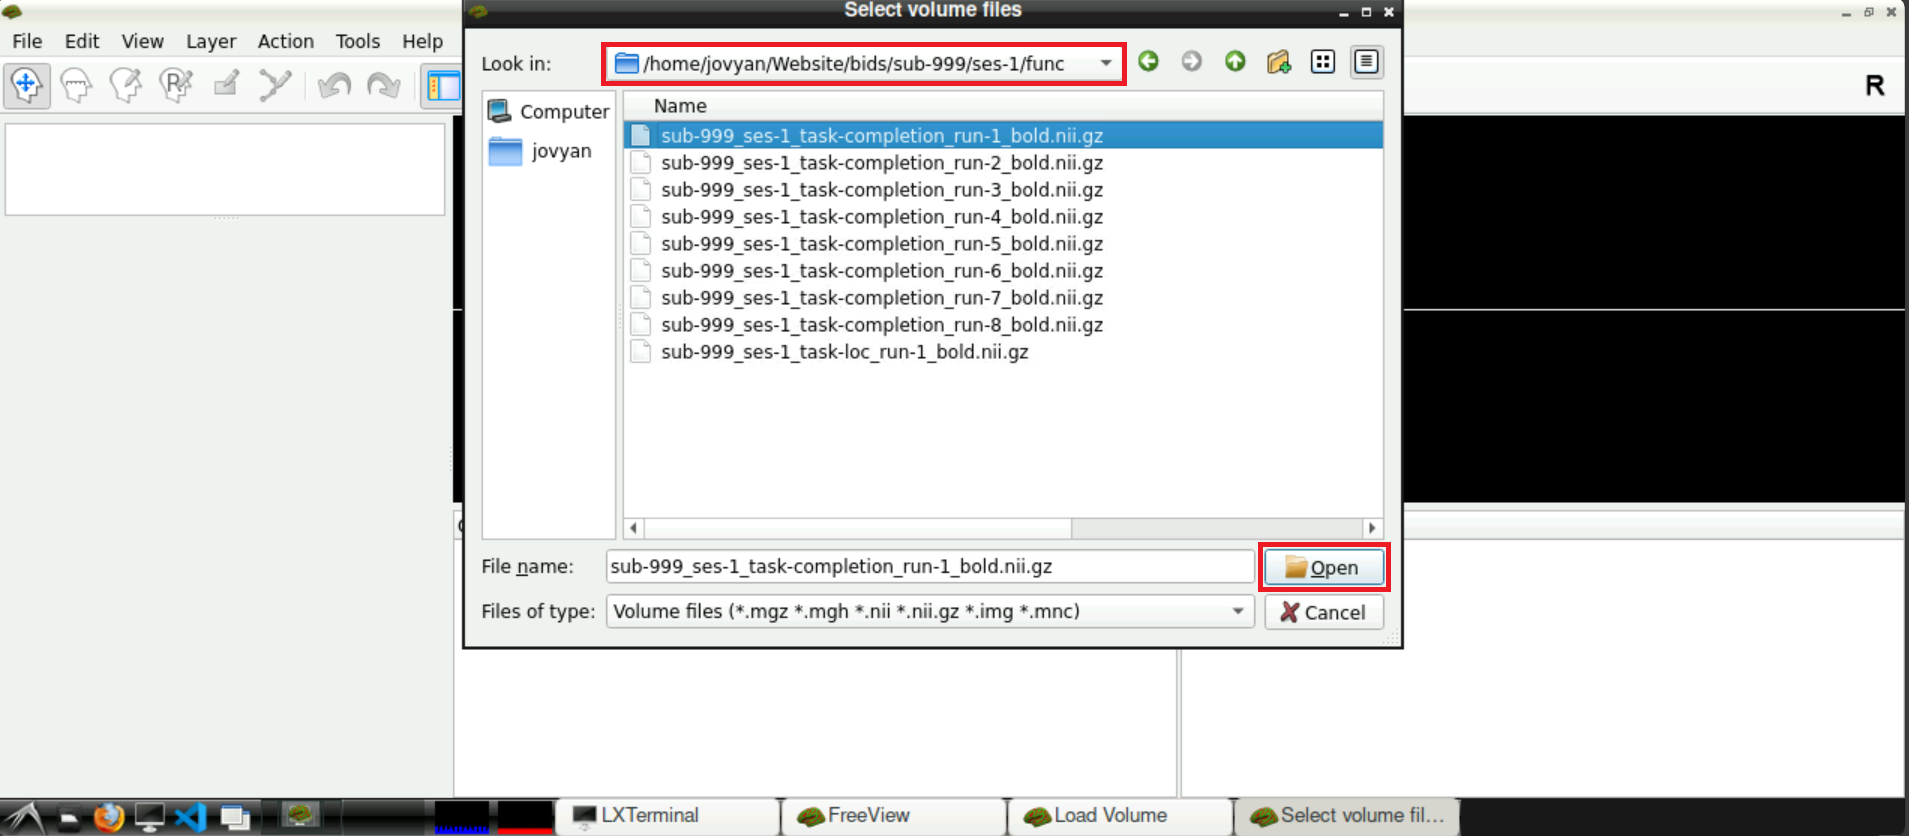
Now, with the field Select volume file containing the correct path(s), you can click Open
When the volume loaded, it should look similar to this: 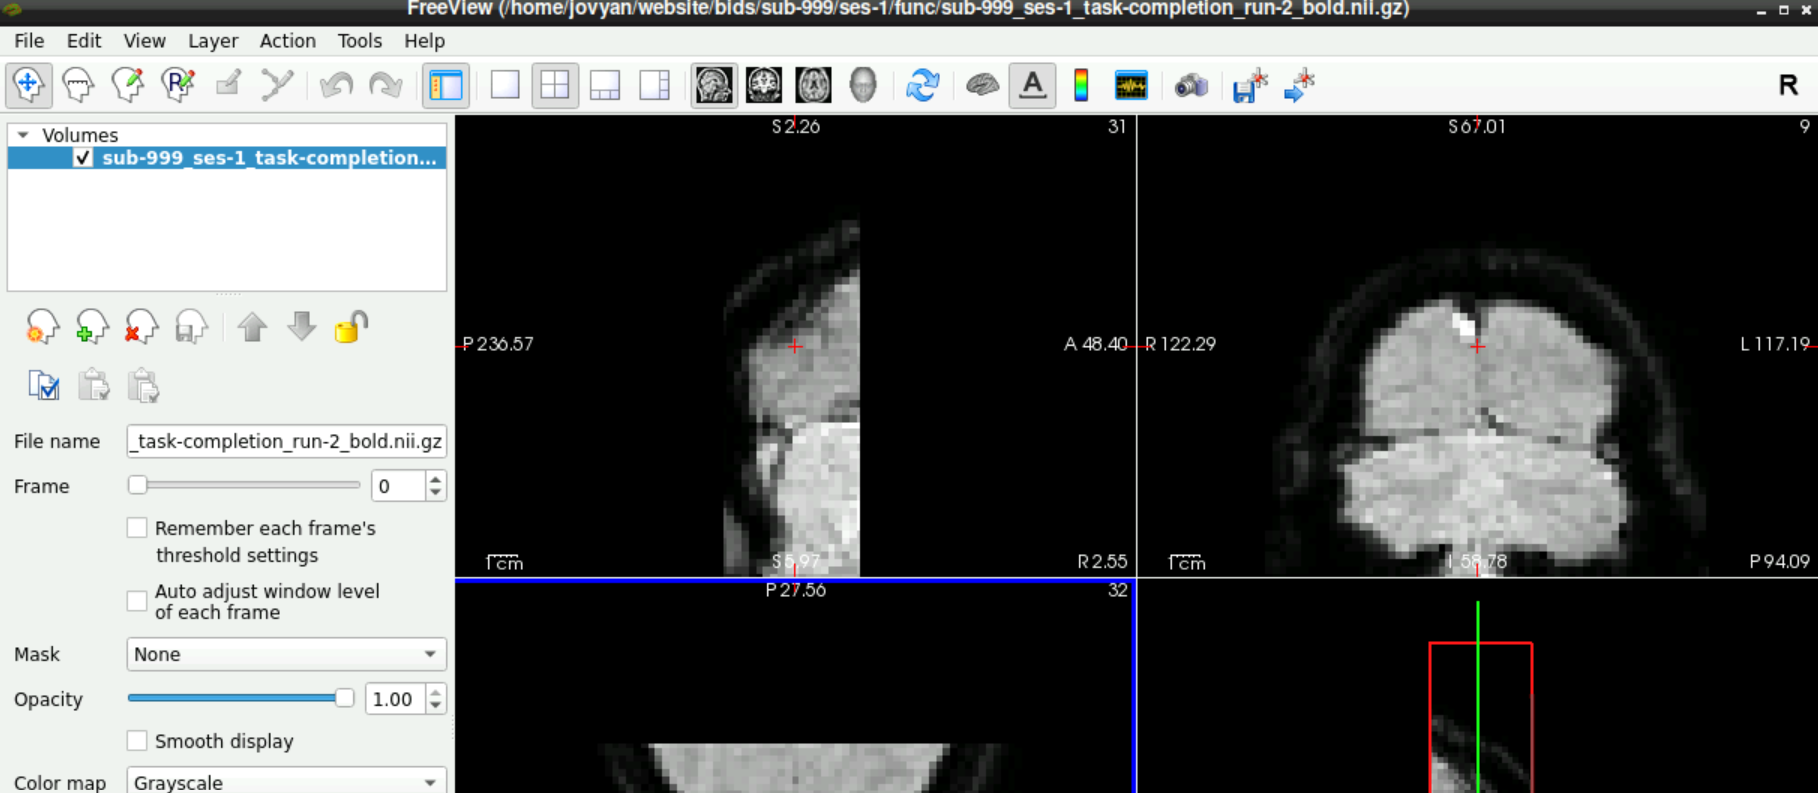
1.3 Check for noise Scan
To check if a noise scan is included in you data, use the slider next to Frames (left side, roughly in the middle), to navigate to the last frame. If a denoising sequence was used during data acquisition in the scanner, this frame looks “empty”. Toggle between the last and second to last frame, to visualize the difference 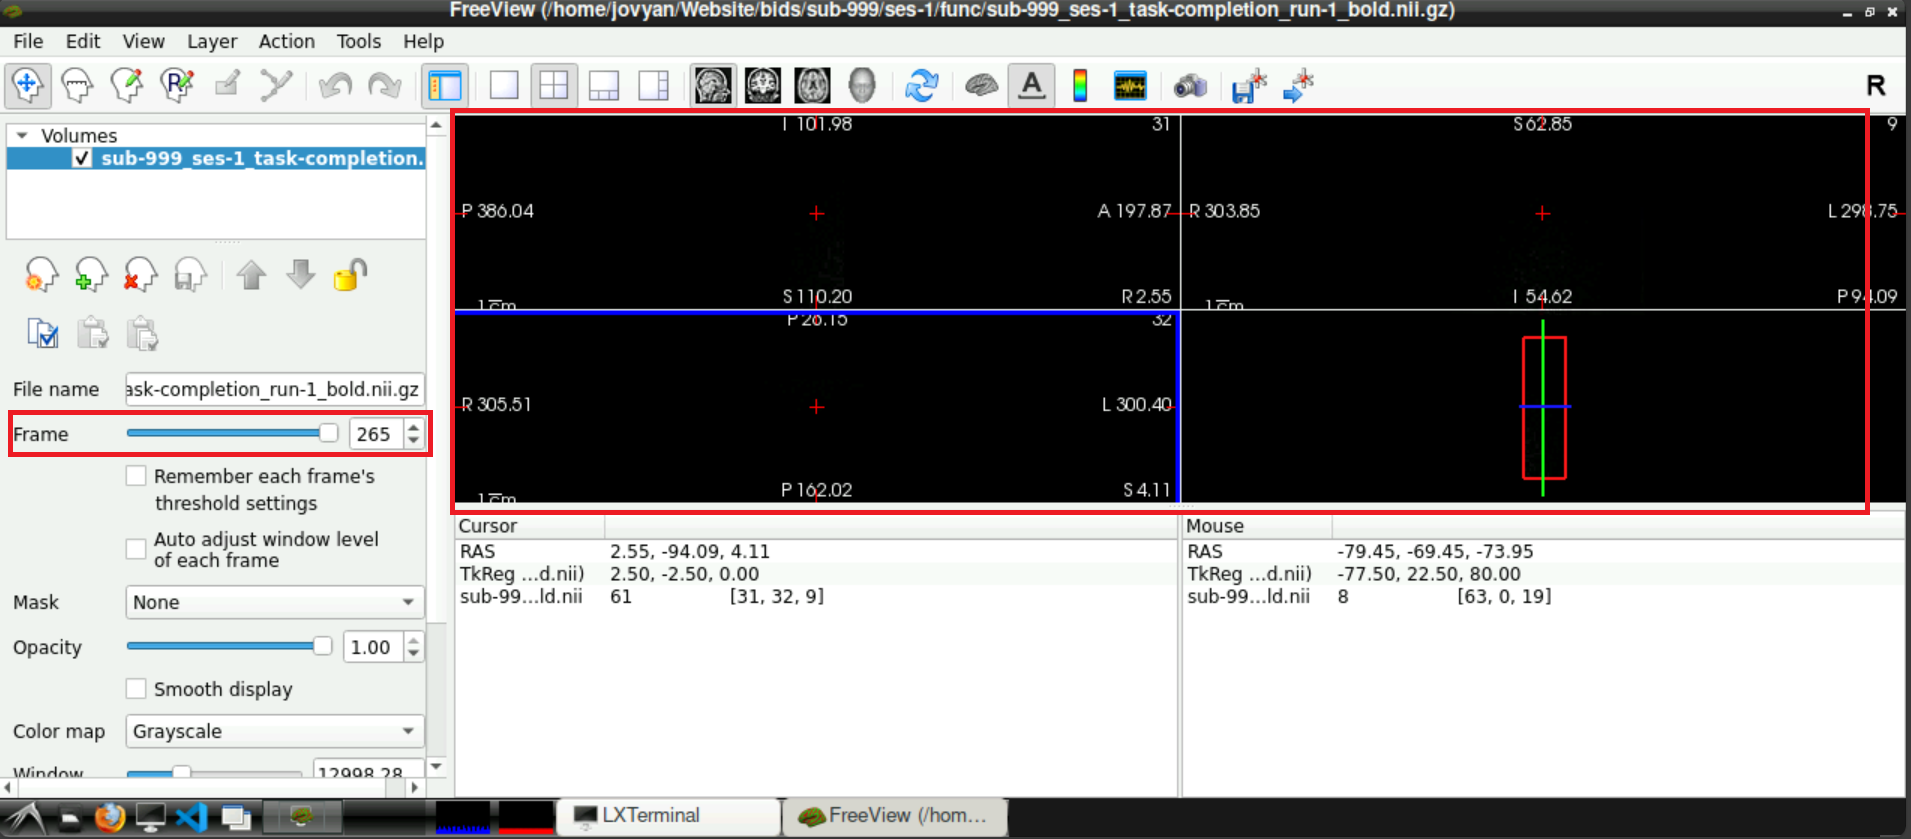
If you confirmed a noise-scan in one functional run, they will probably be there for all your runs. It might be good to check every run anyway.
2 Remove noise scan from the data
You confirmed noise information being present in your data in the last section. Before running fmriprep, we have to remove this information. To achieve this:
Get the following script and copy it to your own storage:
/shared/website/remove_noiseScan.shOpen the script (left-click +
gedit)Adjust the variables
subject_idsandconstant_path- with
constant_pathas it is right now, every subdirectory inbidswould need to start withsub-1400 - then it would look for all subjects indicated in
subject_ids
- with
run the script (either
cdto the directory and runbash ./remove_noiseScan.shor from anywhere runbash /path/to/remove_noiseScan.sh)After the script starts, you have to indicate if you want to remove the last frame from the fmap (Press 1), from the functional runs (Press 2), or from both (Press 3)
Information: this code basically searches for all files in your working directory that end on _bold.nii.gz (when functional files are processed) or _epi.nii.gz (when the fmap is processed), gets the information about how many frames it includes using mri_info and then removes the last frame (which we confirmed to be the noise scan prior)
This process can take a while, especially in the beginning. Don´t get stressed out, when nothing happens for a while and only info statements get printed, be patient!
After some time, you will get the information, that the first nifti is processed. This will be repeated for all files in your working directory that end in _bold.nii.gz/_epi.nii.gz. 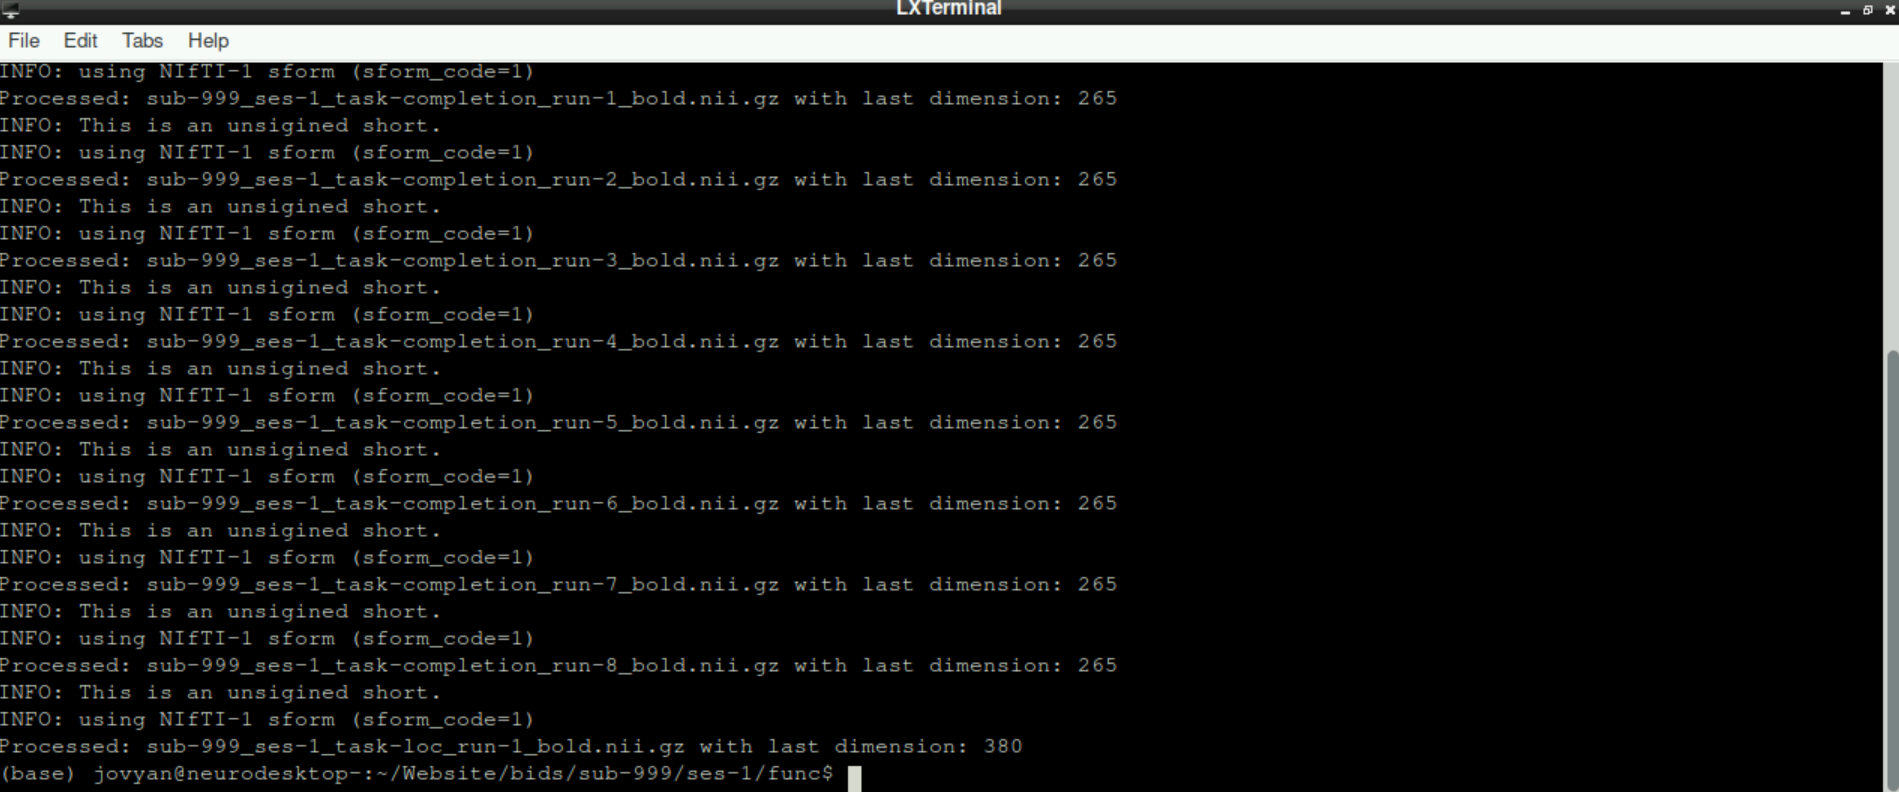
3 Confirm successful removal
To confirm that the noise scan was removed, start freeview, load a functional scan (or the fmap) and finally check the last frame. The original “empty” frame should now be removed and final scan should picture “normal” data.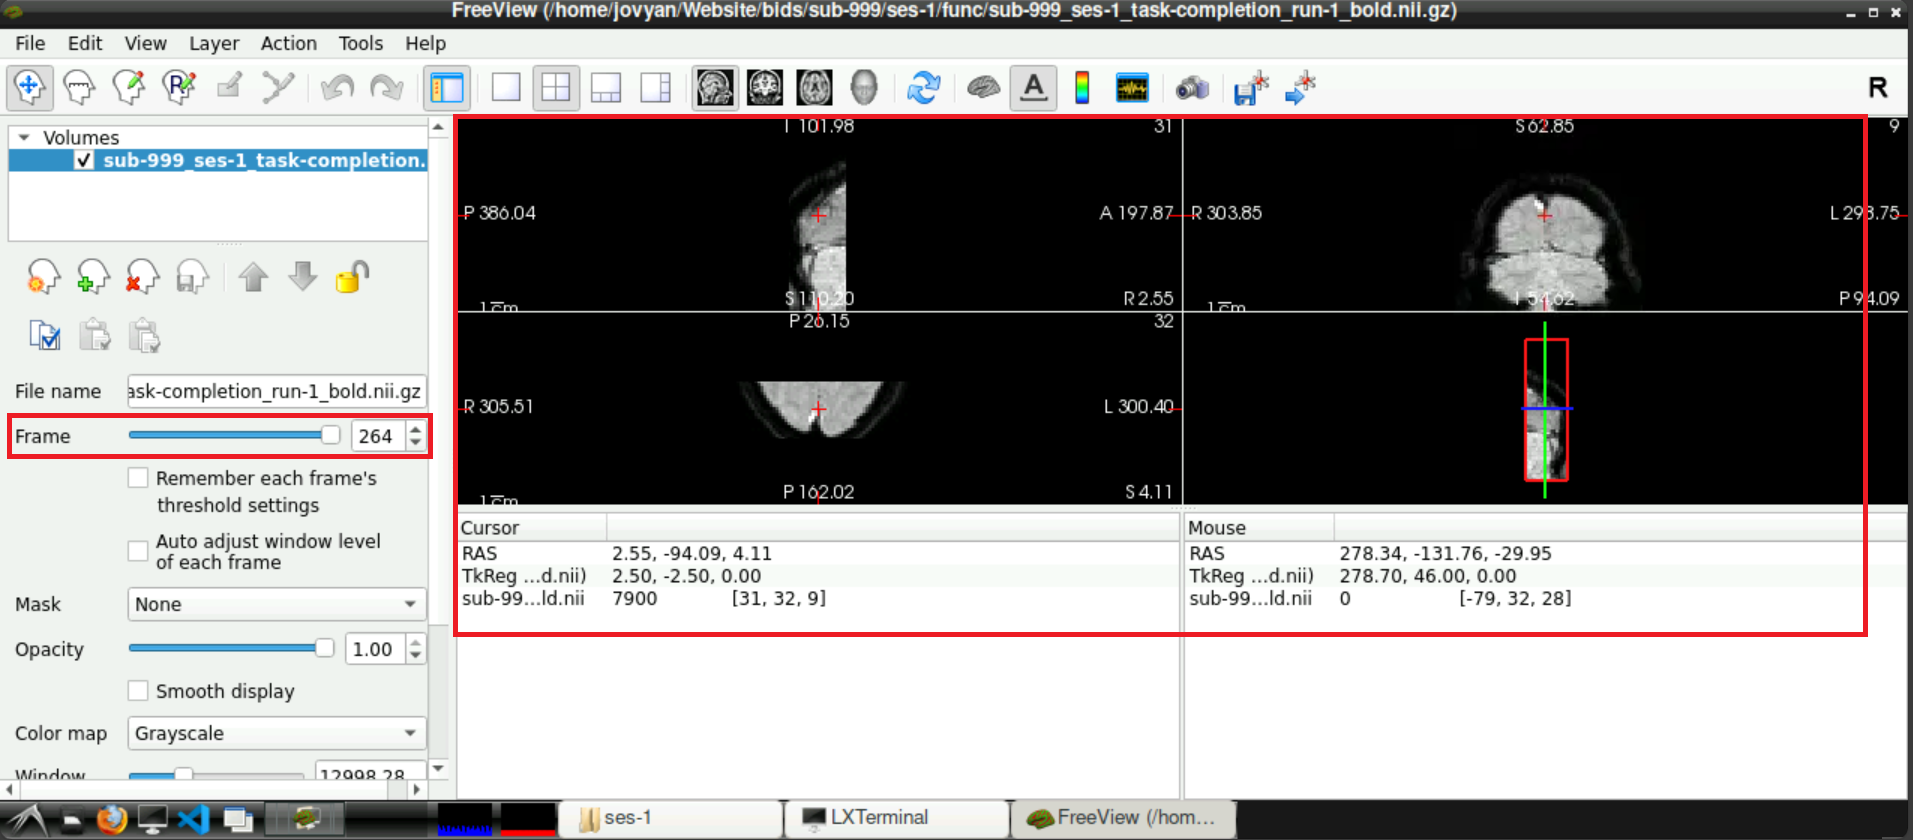
4 Next steps
Congratulations, you successfully removed the noise scans from your functional and fmap and you are one step closer to analyzing your data!
To continue in your journey to your Analysis, please return to the Overview-Page to check what to do next.
Alternatively, here is a list of potential next steps to continue with