04 - Defacing
Defacing your T1w scans is an important preprocessing step that has to be done before running fmriprep as you´ll probably run into errors otherwise!
BUT: don´t run the defacing by default! You should always check first if the T1w-file is already defaced. Running the defacing algorithm multiple times(even though not necessary) can potentially harm the quality of your data!
1 General Information
When we acquired data “ourselves”, we definitely have to deface the T1w-scan (after converting the DICOMs to niftis) before we can continue!
When acquiring data during regular scanner times, we already get .nifti files. There should be a directory rawdata, which contains the data in BIDS-Format. Additionally there is a directory faced.
In theory, the directory faced should contain the original T1w-niftis that you can send to the participant and the T1w-niftis within rawdata should already be defaced (and thus be ready to further work with them, e.g. fmriprep).
However, sometimes the automatic defacing at the MRI-Lab does not work as intended, potentially resulting in “non-defaced” T1w-niftis in the rawdata directory! Thus, you should always check the T1w-nifti in rawdata to ensure that it is defaced and avoid potential subsequent problems.
To check the T1w files, you can just load them in freeview, MRIcroGL,…
Alternatively you can also run python /shared/website/showT1.py in the terminal. After indicating the path to your bids-directory, this script will open all (be aware of that! Depending on how many subjects are in the directory, this will take some time and open as many T1w files as you have participants!) T1w-files that are stored in the bids-directory.
If you promised participants that they´ll get their T1w scan: When the data was acquired outside the regular scanning times (i.e. we start with the DICOMs), make sure to save the T1w-nifti once separately before defacing!
2 Defacing your T1w-Scan
2.1 Start Pydeface (v.2.0.2)
To deface a T1w image, you first have to open pydeface:
Click on the Birds-Symbol at the bottom left and navigate to
Neurodesk > All ApplicationsScroll down until you find
pydefaceClick on
pydeface 2.0.2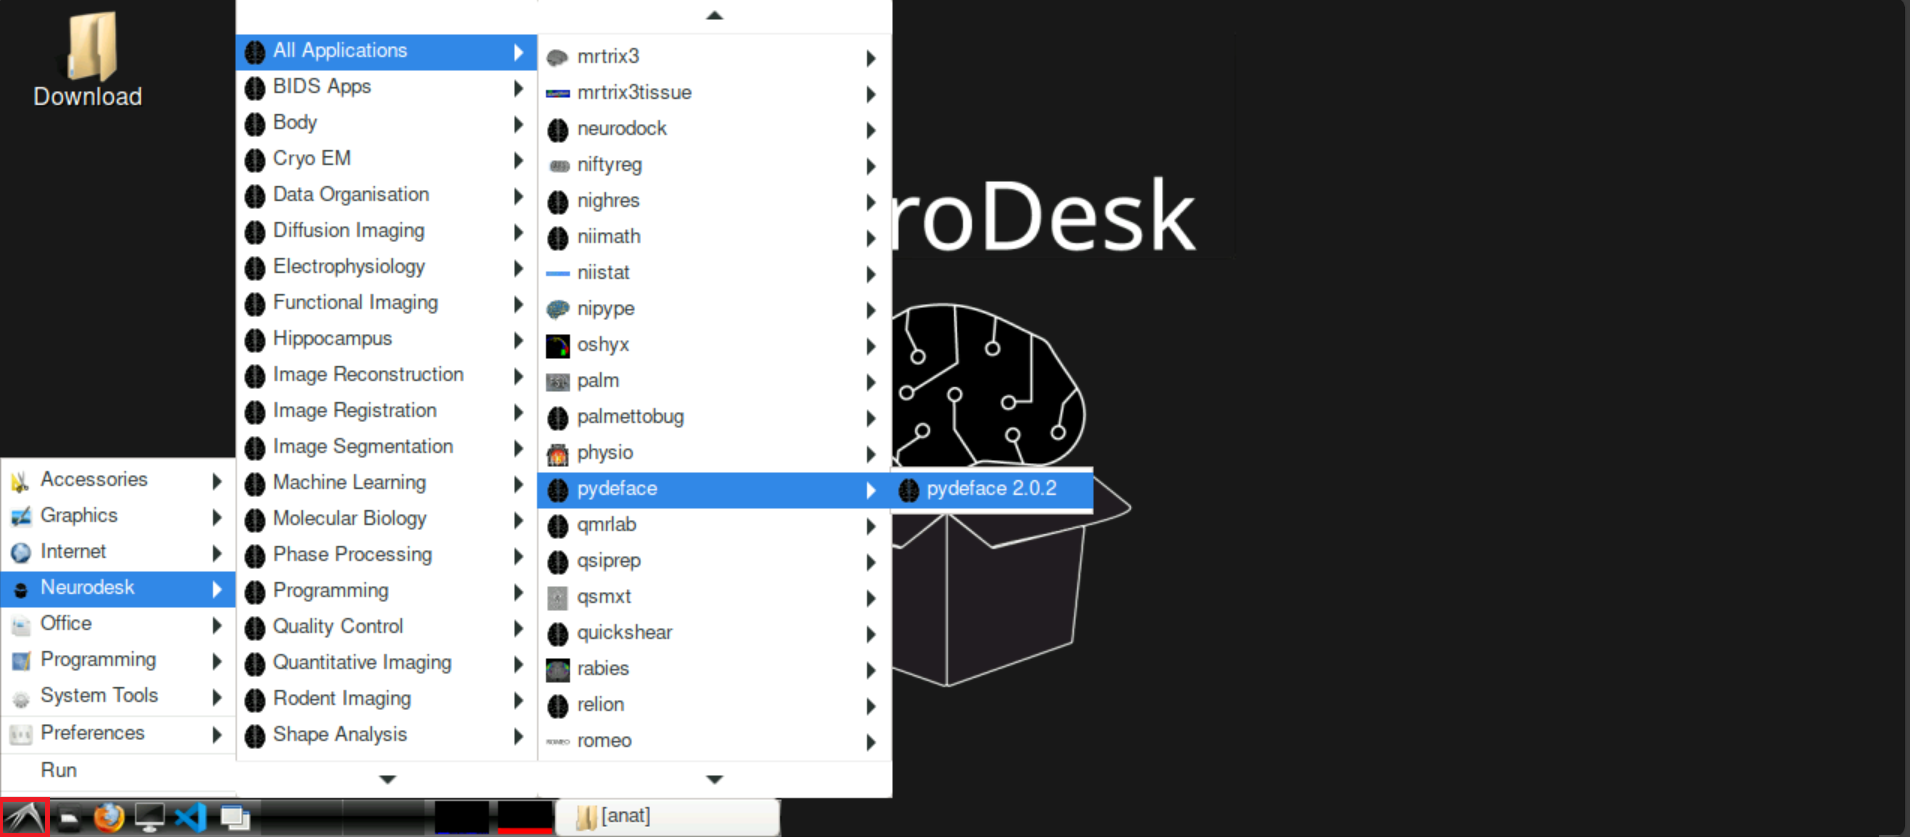
It may take some time until everything is loaded - be patient!
Finally, it should look like this: 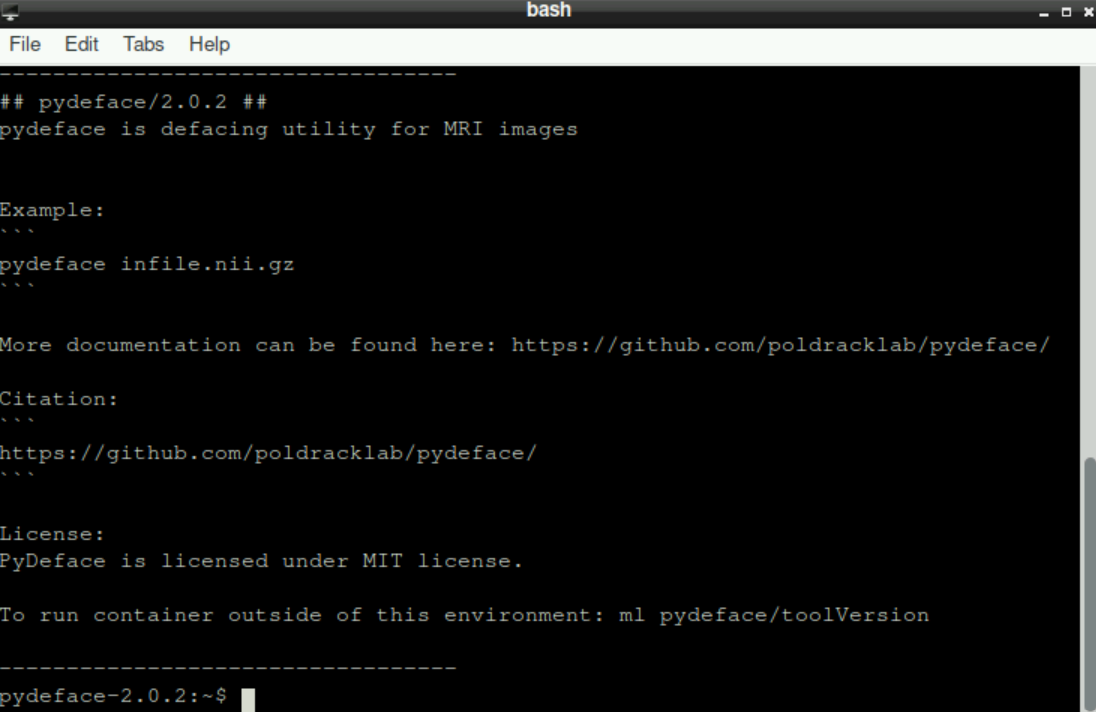
2.2 Get the path to your original T1w scan
Navigate to the anatomical scan of the participant within your BIDS directory
Right-click on the anatomical
.niftifileSelect
Copy Path(s)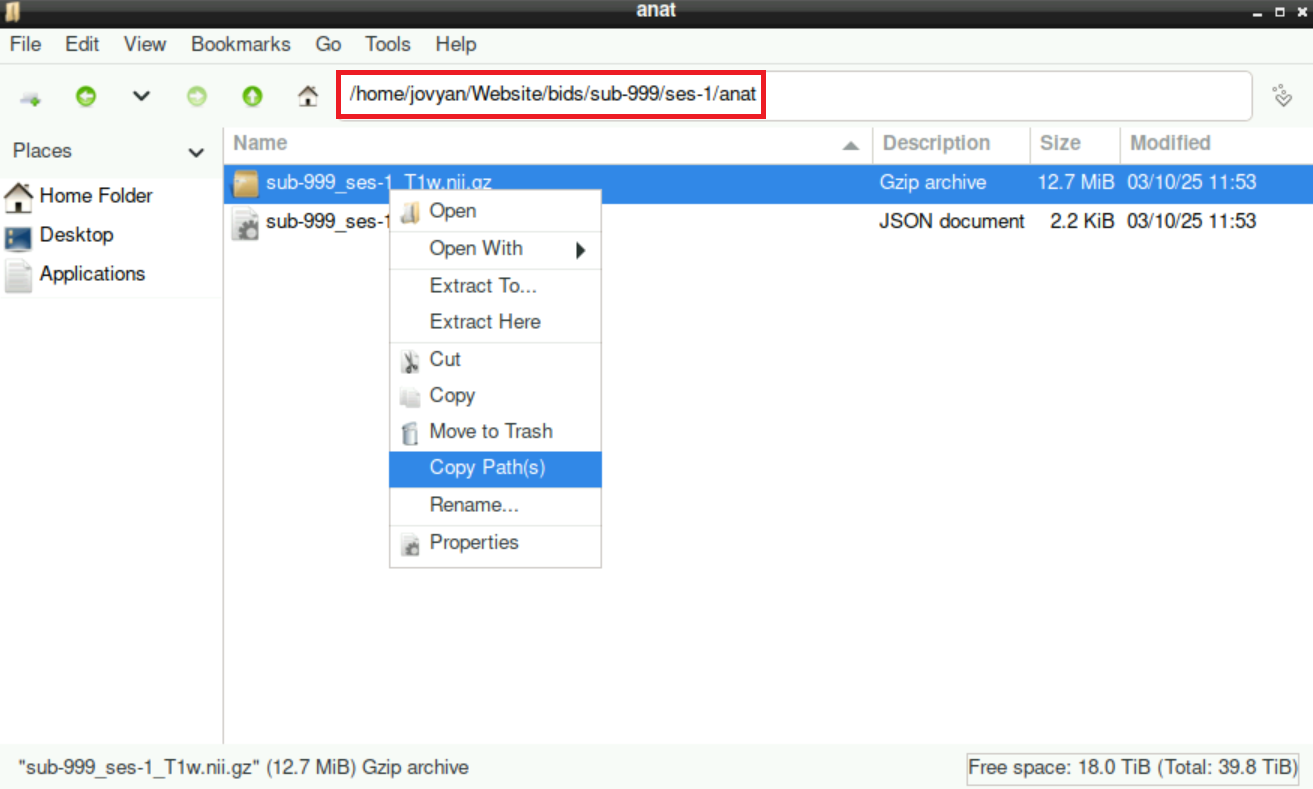
2.3 The pydeface command
Go back to the terminal window, where pydeface is loaded (or start it again)
Type
pydefaceEnter the path to your T1w scan (right-click +
pasteor type in the path)Type
--outfileRepeat Step 3 (with this approach, you “overwrite” the initial T1w with the then defaced T1w file) or define a new file.
Type
--force
An example command would be:
pydeface /home/jovyan/Website/bids/sub-999/ses-1/anat/sub-999_ses-1_T1w.nii.gz --outfile /home/jovyan/Website/bids/sub-999/ses-1/anat/sub-999_ses-1_T1w.nii.gz --forceand it should look like this: 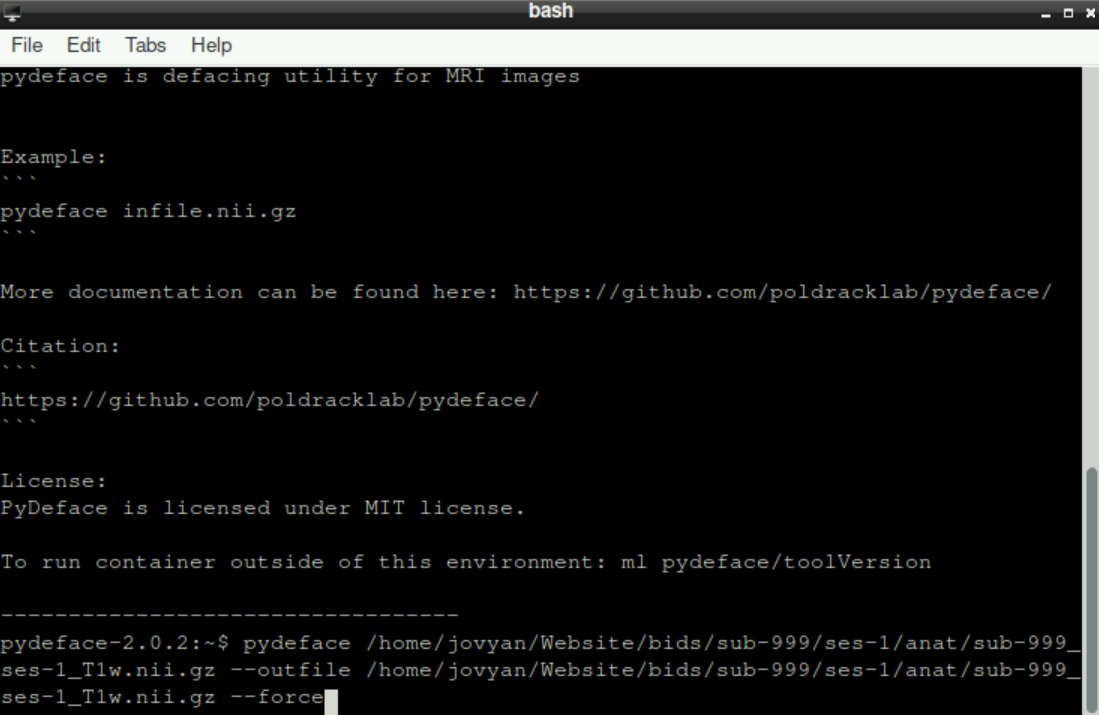
Press enter to start the process. Again, it might take a few moments until pydeface finishes, be patient!
At the end, it should look like this: 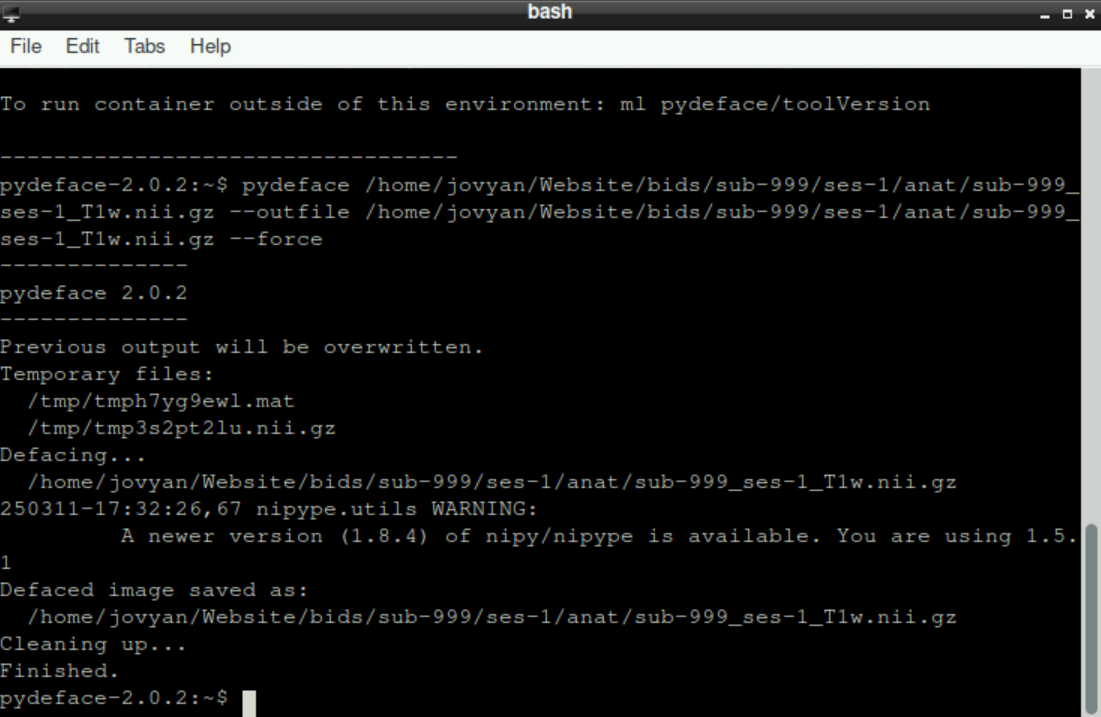
2.4 The next steps
Congratulations, you successfully defaced a T1w-scan and you are one step closer to analyzing your data!
To continue in your journey to your Analysis, please return to the Overview-Page to check what to do next.
Alternatively, here is a list of potential next steps to continue with